For Halloween or other dress up fun, characters and creatures featured in Dr. Seuss titles are great inspiration for hats that lets kids be festive without completely changing clothes.
There’s always the Cat’s wild red-and-white-striped stovepipe, but there are many other simpler headpieces kids can create with construction paper and imagination.
What you’ll need:
- construction paper
- crayons, markers, or paints
- tape and glue
- stapler
Directions:
Get kids started with these toppers and they’ll soon have their own ideas about how to turn a paper headband into the ultimate accessory for imaginative play.
- Use the Bat Wings printable to add wings to a headband for a Batty Hat.
- The Listen Like Horton printable makes it easy to transform into the kind elephant.
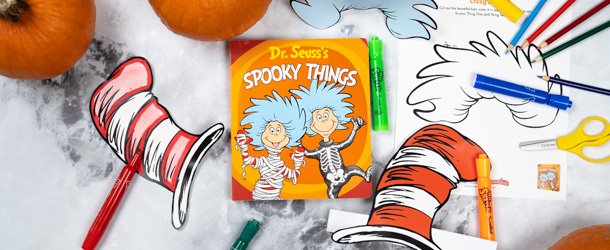
- Pumpkin Toppers like Thing 1 and Thing 2 or the Cat in the Hat can simply be used to make these classic characters.
- Make a cat, fox, or other creature with ears or a horn on the tops of their heads by adding an additional paper strip to the headband that fits over the head, ear to ear.
- Accordion-fold eight skinny strips of paper to make legs for a Spooky Spider Hat.
- Decorate the headband for the occasion: add pumpkins, snowflakes, hearts, flowers, or anything else you can think of.
Making the Headband
- Fold a piece of construction paper in half lengthwise. Cut the paper in half along the fold.
- Fold each of the two strips in half lengthwise. Glue the folded strips closed.
- Tape the two strips together to make one long, sturdy strip.
- Wrap the long strip around your child’s head to measure how long it needs to be to fit as a headband. Trim off the excess length, but don’t tape the strip into a circle yet.
Constructing the Hat
- For hats with items on either side of the headband, measure three to four inches from the center of the band and tape the item (wing, ear, etc.) to the band. Repeat on the other side. Wrap the band around your child’s head for a secure fit and tape it together.
- For hats with an additional strip over the head, wrap the band around your child’s head for a secure fit and tape it together. Create a sturdy strip with a folded piece of construction paper that goes over the head and is secured to the headband at each ear. Add the items (ears, horns, etc.) to the cross band and secure.
Hang on to your hats! They will make great additions to your Dress Up Box.